

一、UE4环境搭建
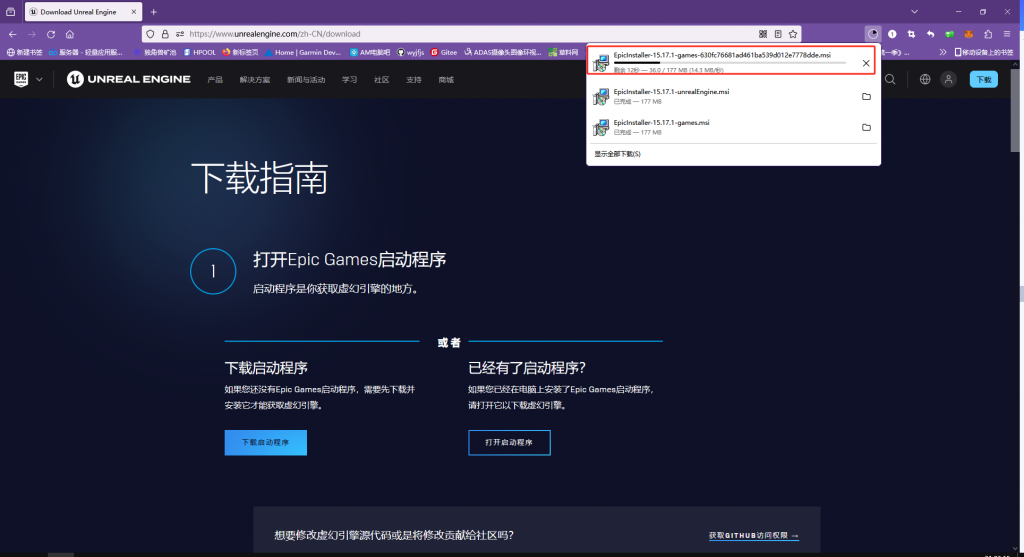
1、打开网址、点击下载按钮下载UE(https://www.unrealengine.com/zh-CN)

开始下载
下载完成后的软件直接安装就可以,需要注意的是软件占用的内存比较大,本人并没有安装在C盘,在安装过程中设置好安装路径就可以
安装完成后需要下载引擎库当前安装版本是4.23.1

下载完后安装,就完成了UE的环境搭建
二、Matlab环境搭建
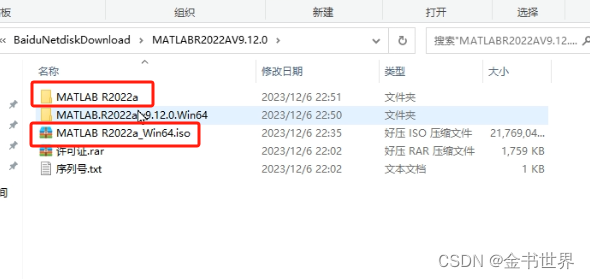
本测试系统使用的matlab下载路径
链接:https://pan.baidu.com/s/1qIYd0n-WWLtjlT1KeJWBvA?pwd=ef5d提取码:ef5d
1、鼠标右击软件压缩包,选择“解压到MathWorks 2022b”。
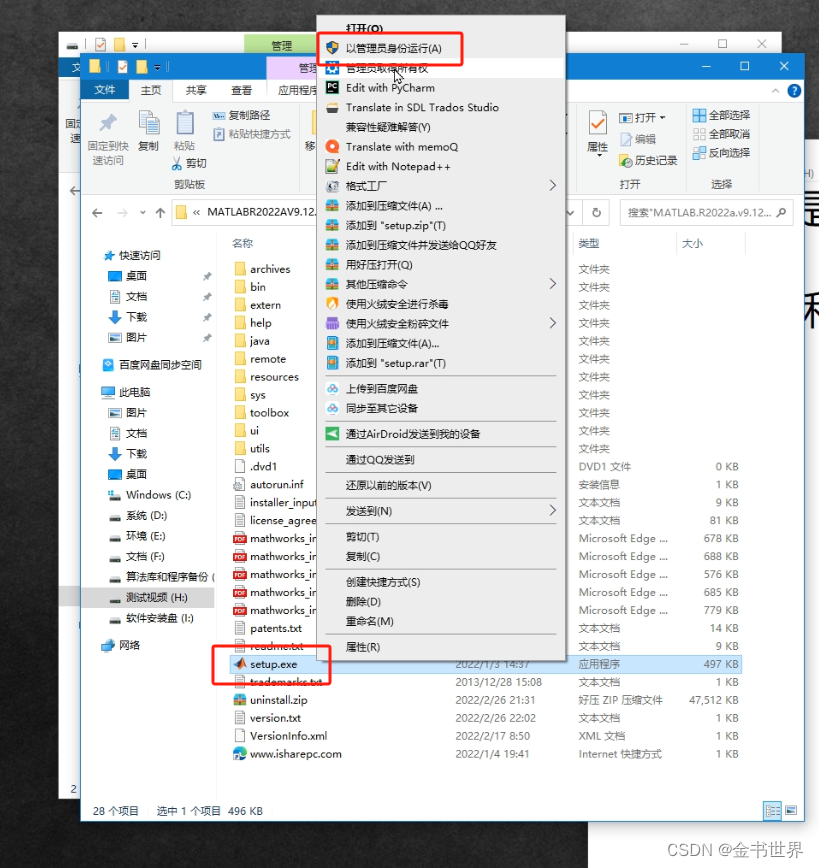
2、使用管理员权限安装。
3、输入邮箱登录

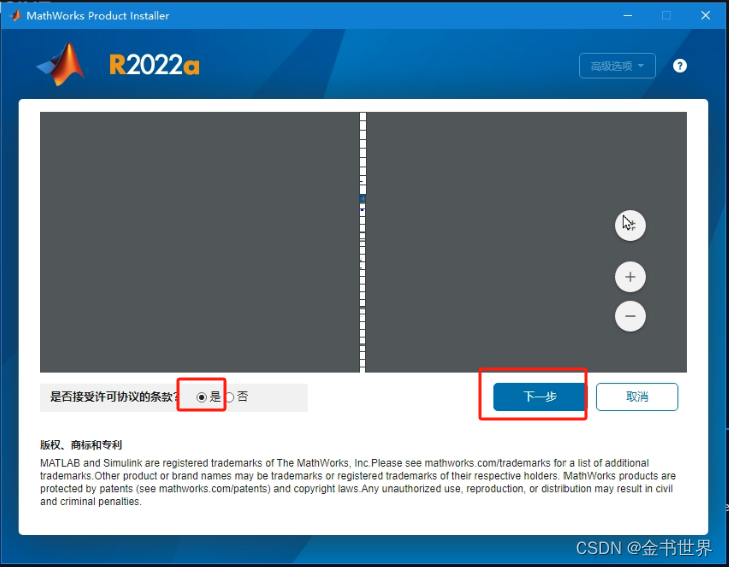
4、勾选是并下一步
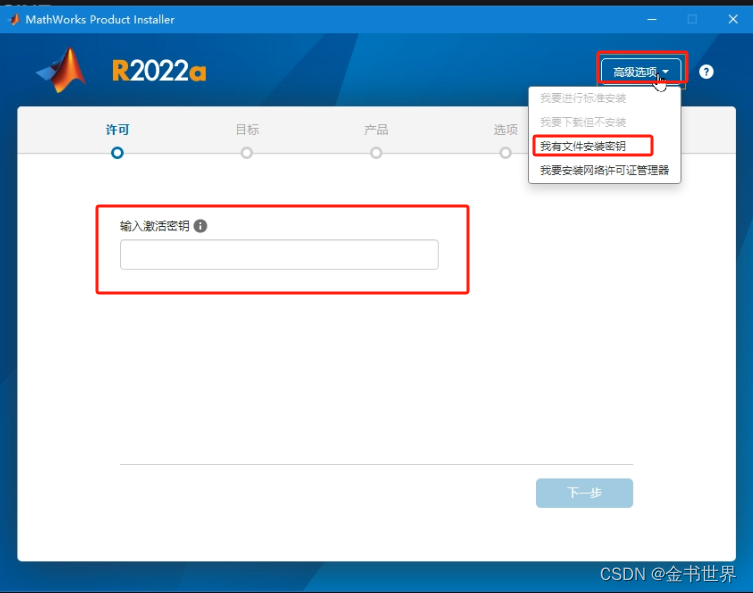
5、高级选项-》我有文件安装秘钥-》输入计划哦秘钥-》下一步

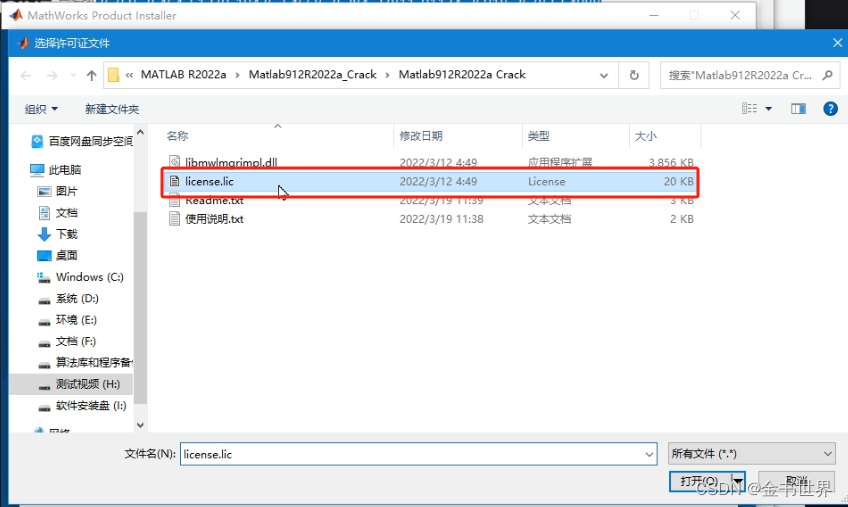
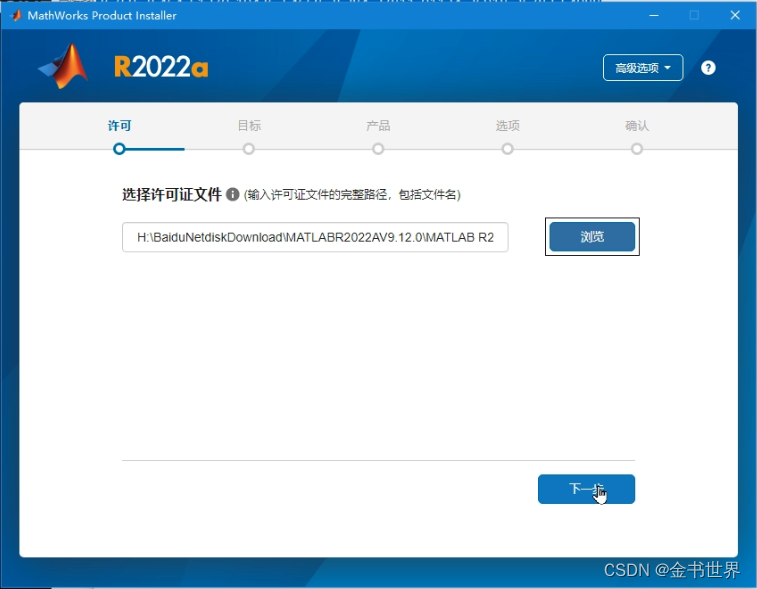
6、浏览秘钥位置并载入-》下一步
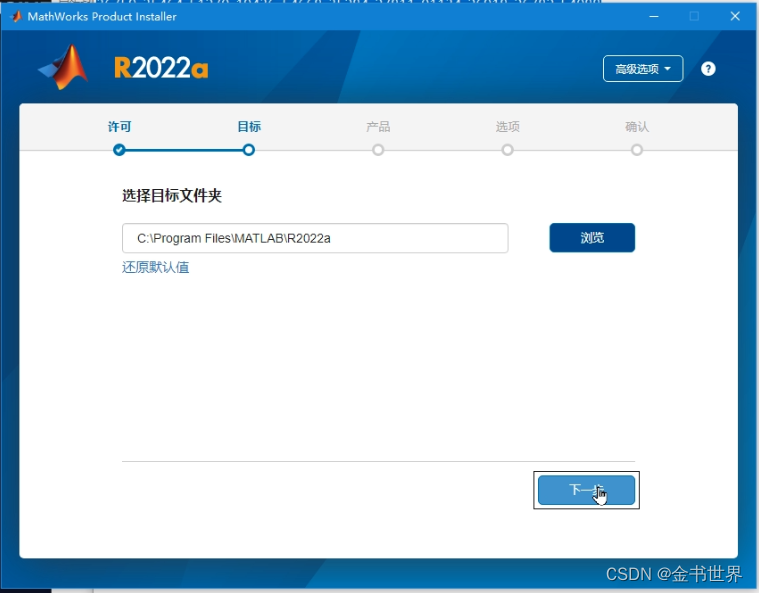
7、选择安装的路径并下一步
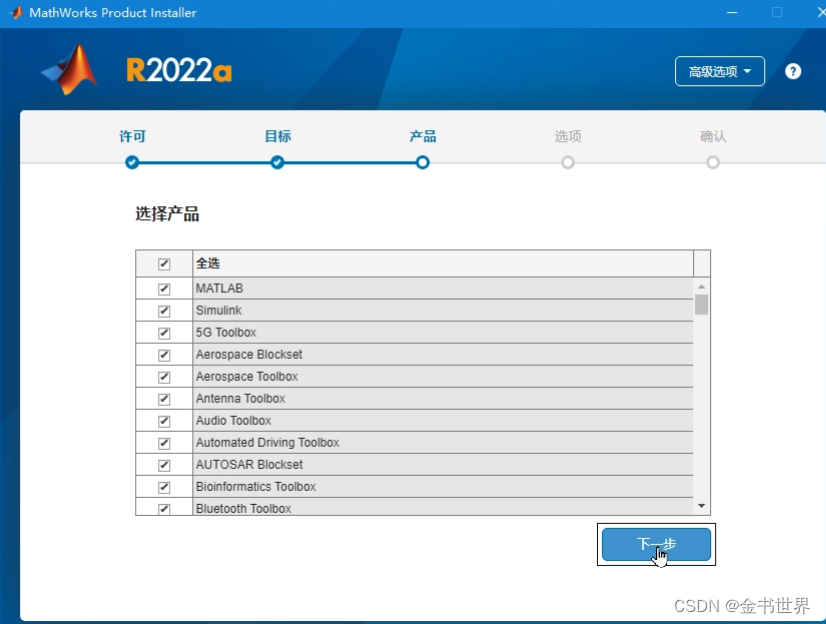
8、勾选全部下一步
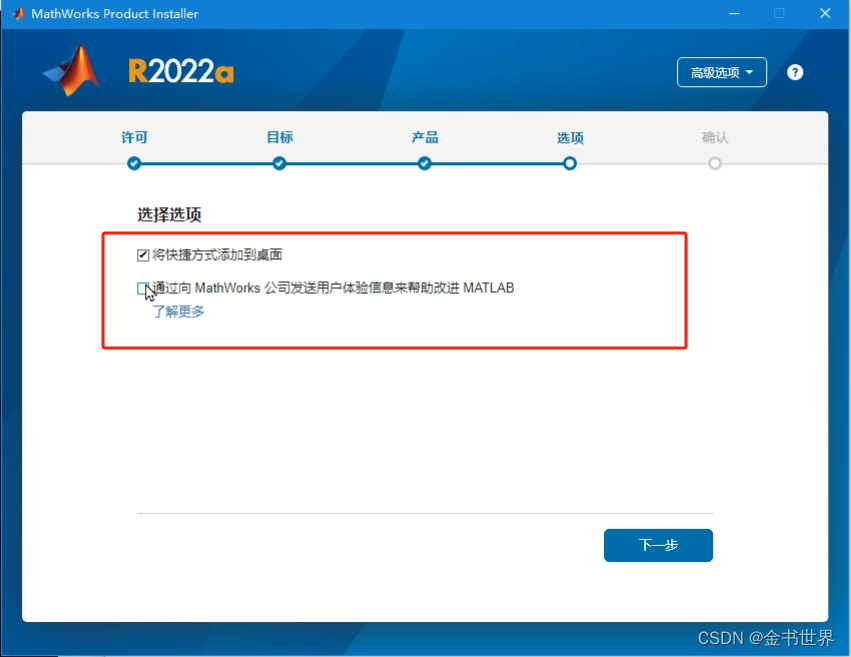
9、创还能快捷方式
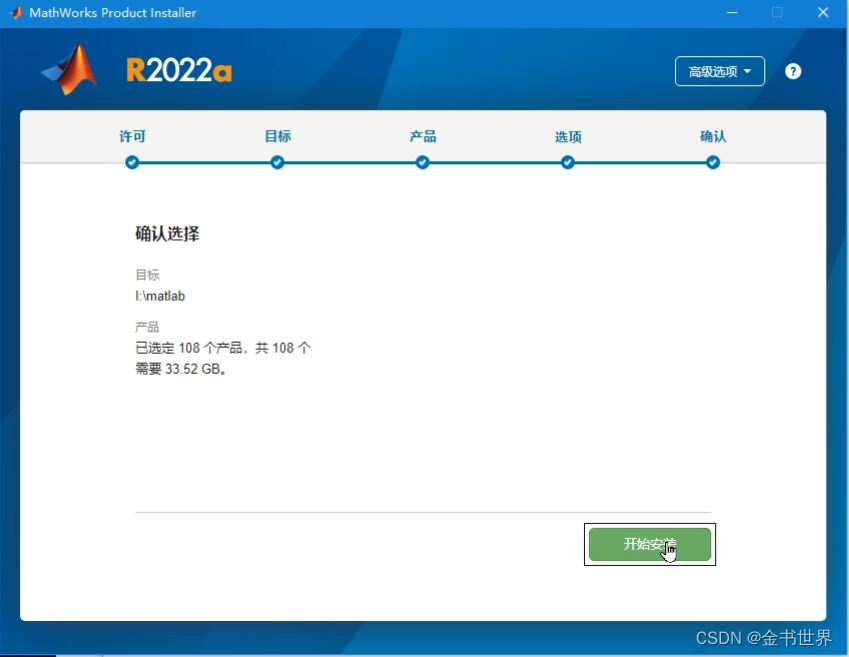
10、开始安装
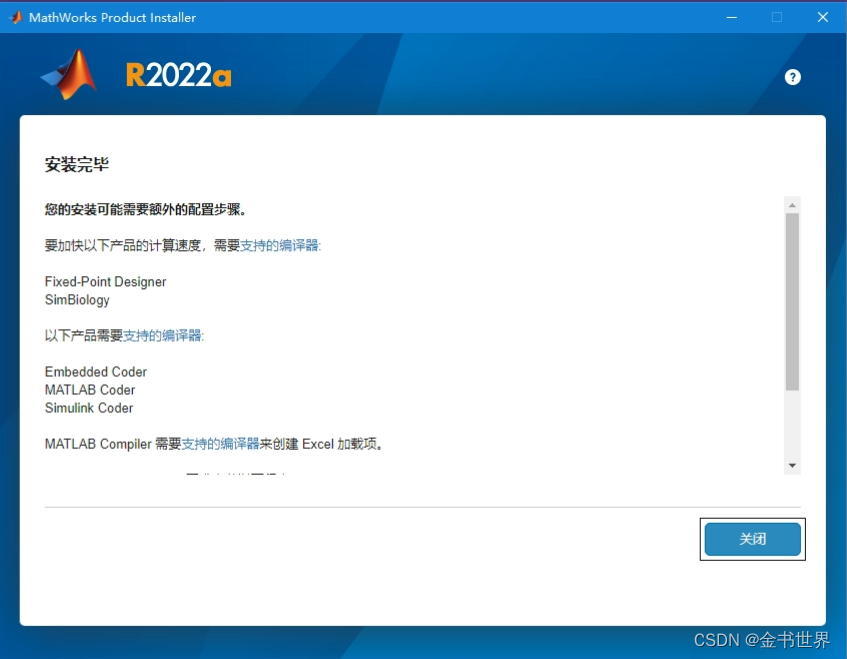
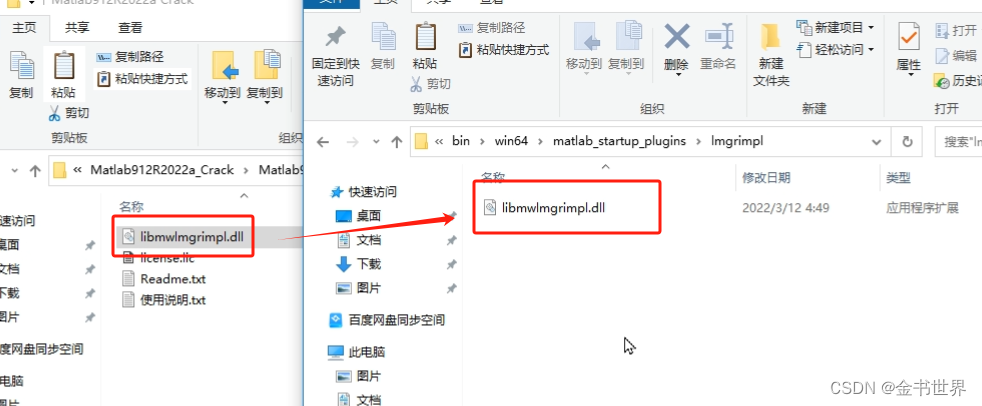
10、安装完成后破解
复制一下文件到安装路径下
三、联合环境搭建
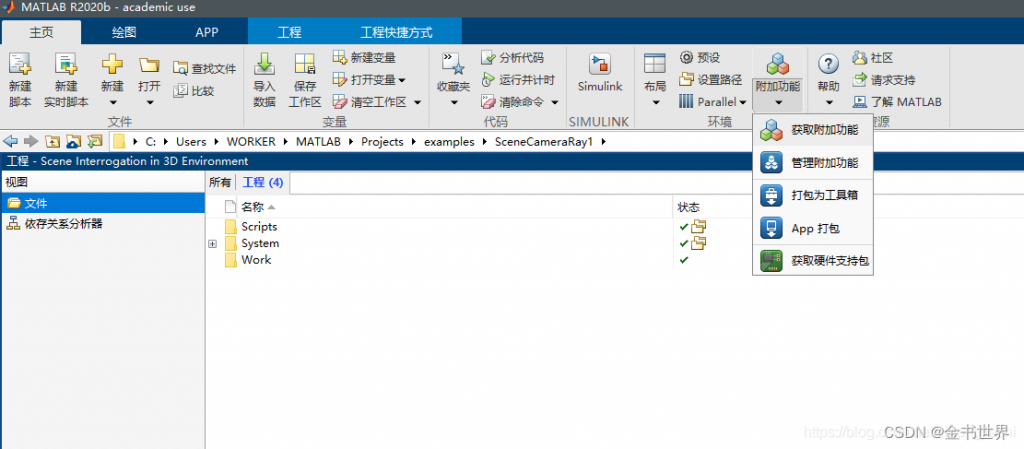
在matlab主页选项卡,在环境部分找到附加功能,选择获取附加功能。
如果一切顺利的话就直接搜索并安装一下两个应用
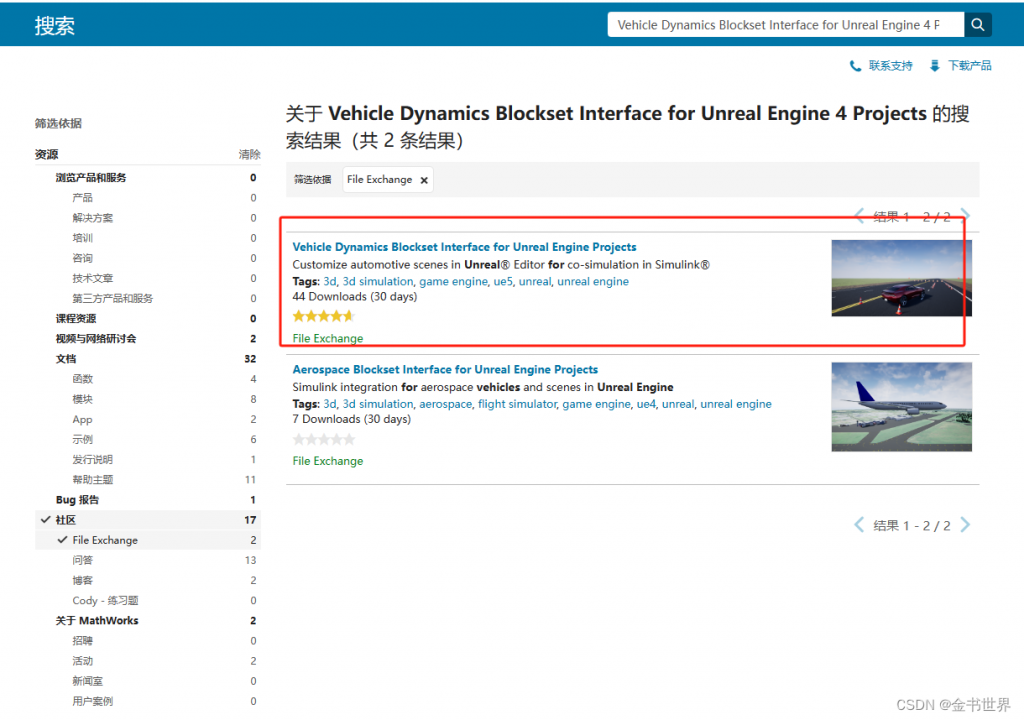
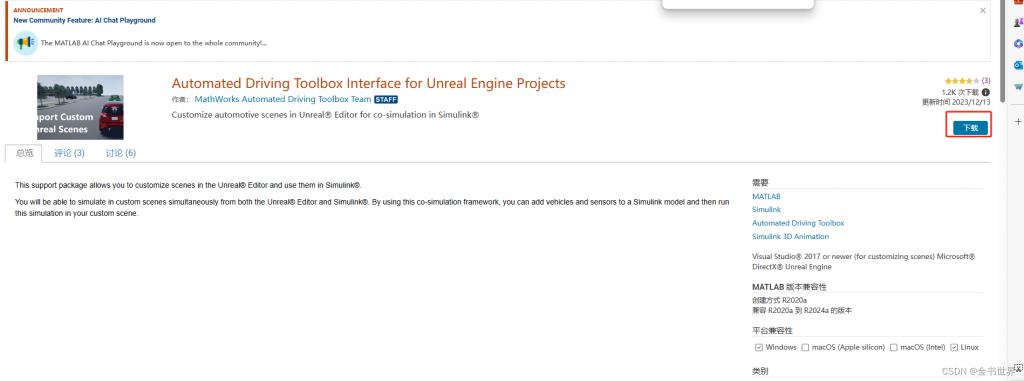
Vehicle Dynamics Blockset Interface for Unreal Engine 4 Projects
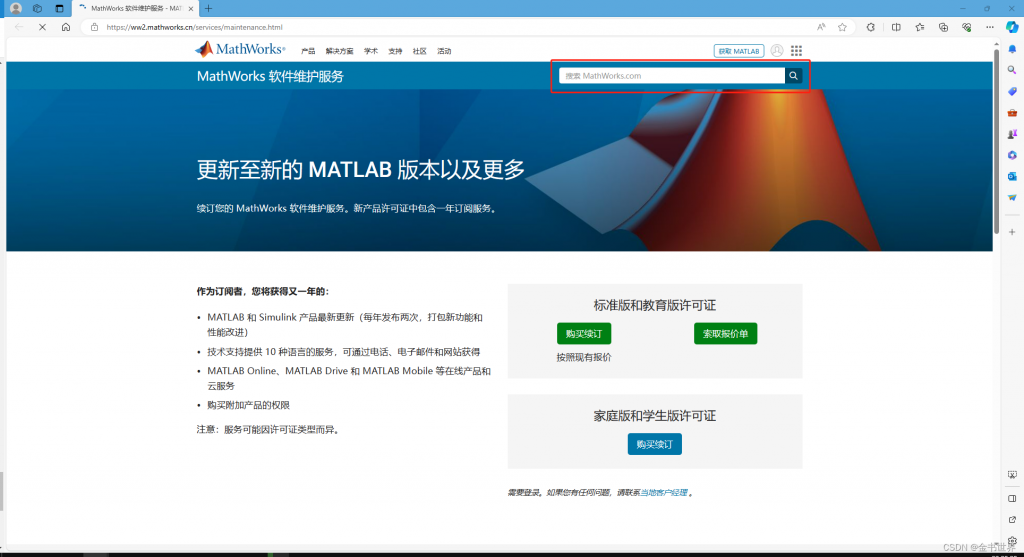
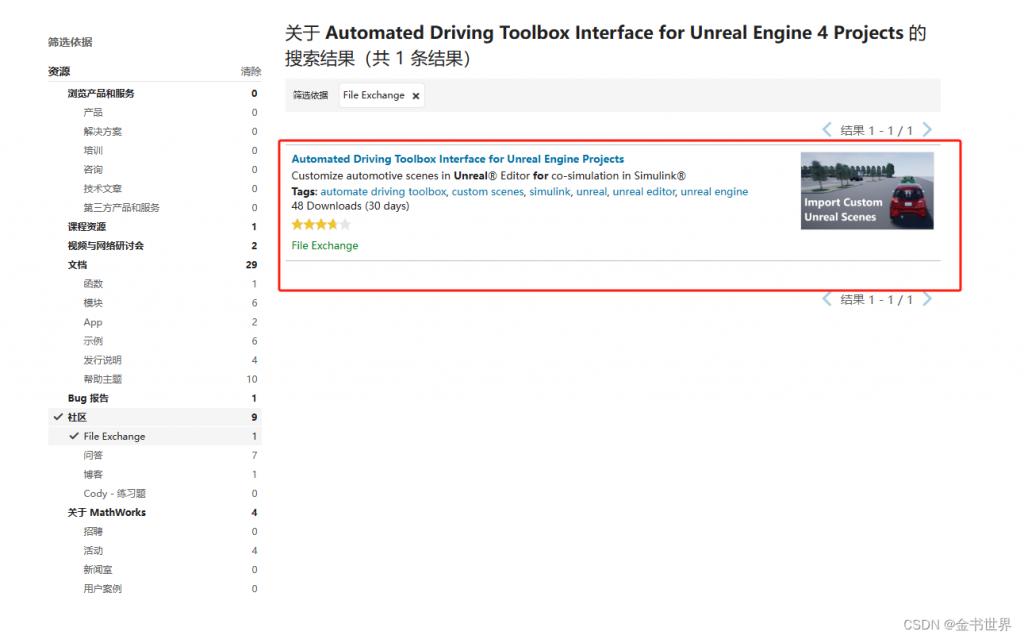
Automated Driving Toolbox Interface for Unreal Engine 4 Projects如果显示界面如下(安装方式需要先下载在安装),点击MathWorks 软件维护
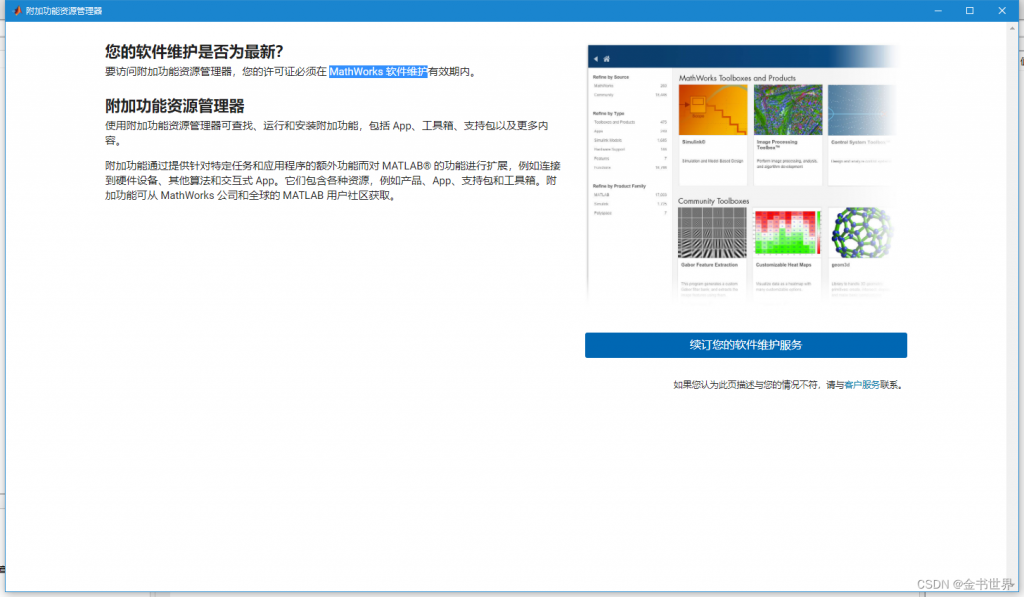
在打开的网页中搜索上述的两个应用并下载
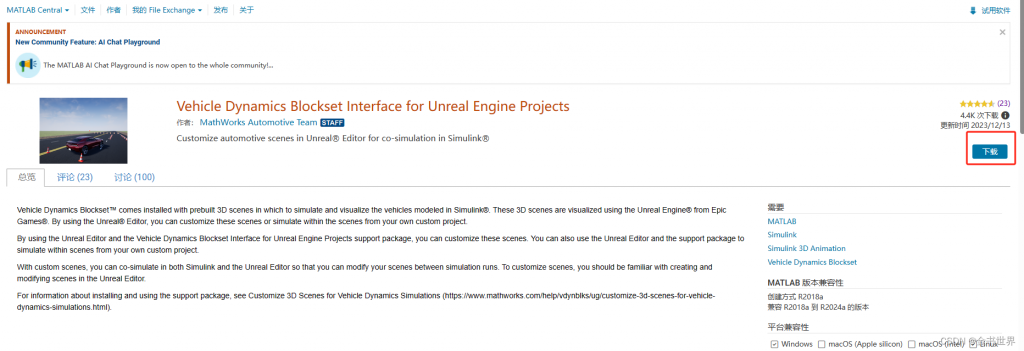
下载完成后在matlab上安装即可
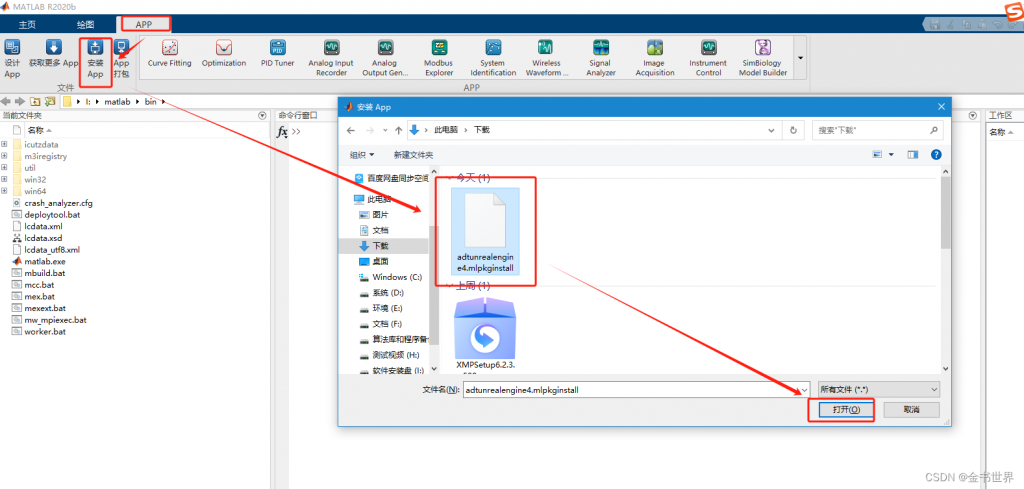
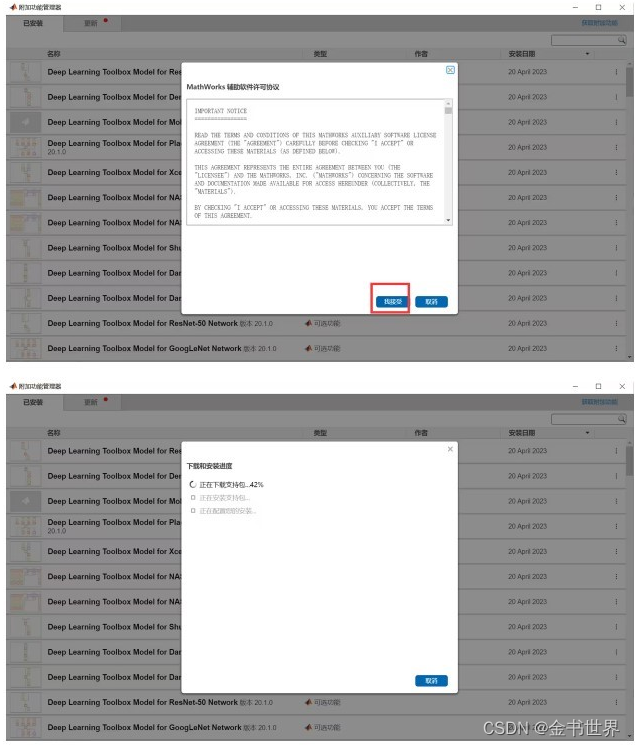
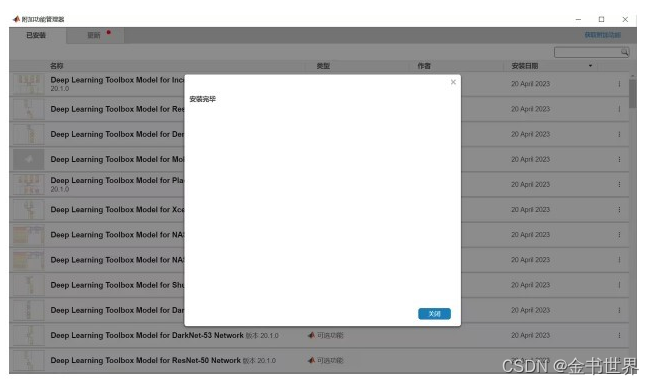
安装完成后打开matlab软件后输入一下指令
%% STEP1
% Specify the location of the support package project files and a local folder destination
% Note:  Only one path is supported. Select latest download path.
dest_root = "I:\Local";%路径需要根据自己的环境设置,用于保存两盒测试的虚拟换可以创建一个空的文件夹
src_root = fullfile(matlabshared.supportpkg.getSupportPackageRoot, ...
    "toolbox", "shared", "sim3dprojects", "automotive");

%% STEP2
% Specify the location of the Unreal Engine installation.
ueInstFolder = "I:\ue5\Epic Games\UE_4.23";%自己设置的ue安装路径

%% STEP3
% Copy the MathWorksSimulation plugin to the Unreal Engine plugin folder.
mwPluginName = "MathWorksSimulation";
mwPluginFolder = fullfile(src_root, "PluginResources", "UE423"); % choose UE version
uePluginFolder = fullfile(ueInstFolder, "Engine", "Plugins");
uePluginDst = fullfile(uePluginFolder, "Marketplace", "MathWorks");

cd(uePluginFolder)
foundPlugins = dir("**/" + mwPluginName + ".uplugin");

if ~isempty(foundPlugins)
    numPlugins = size(foundPlugins, 1);
    msg2 = cell(1, numPlugins);
    pluginCell = struct2cell(foundPlugins);

    msg1 = "Plugin(s) already exist here:" + newline + newline;
    for n = 1:numPlugins
        msg2{n} = "    " + pluginCell{2,n} + newline;
    end
    msg3 = newline + "Please remove plugin folder(s) and try again.";
    msg  = msg1 + msg2 + msg3;
    warning(msg);
else
    copyfile(mwPluginFolder, uePluginDst);
    disp("Successfully copied MathWorksSimulation plugin to UE4 engine plugins!")
end

%% STEP4
% Copy the support package folder that contains the AutoVrtlEnv.uproject
% files to the local folder destination.
projFolderName = "AutoVrtlEnv";
projSrcFolder = fullfile(src_root, projFolderName);
projDstFolder = fullfile(dest_root, projFolderName);
if ~exist(projDstFolder, "dir")
    copyfile(projSrcFolder, projDstFolder);
end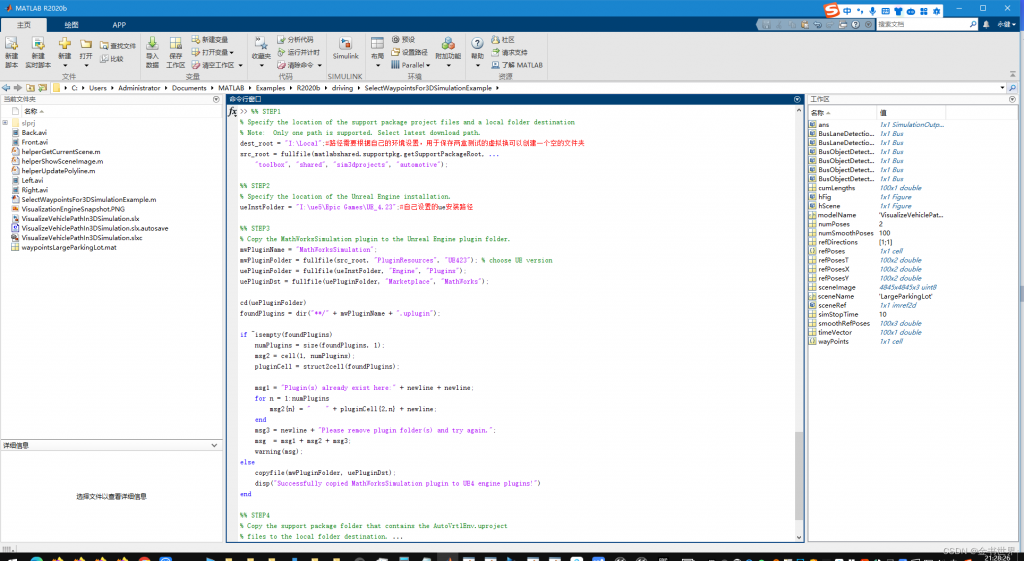
上述步骤完成后会将环境复制到目标的路径I:\Local\AutoVrtlEnv的路径下
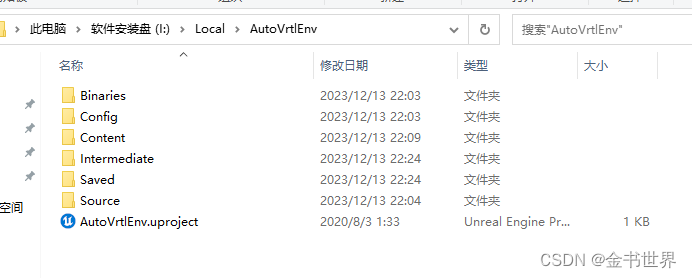
如果上述的路径为空需要手动的复制,使用everything搜索AutoVrtlEnv
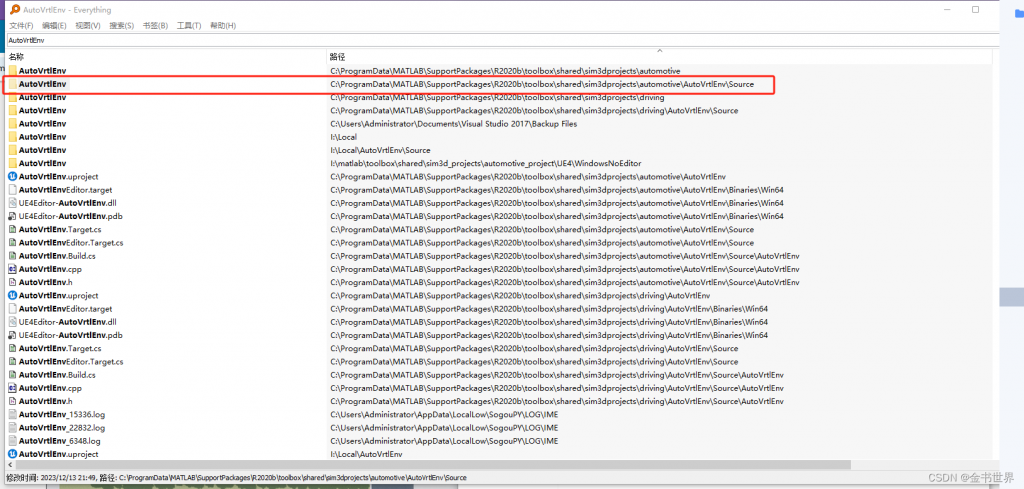
复制这个文件夹到I:\Local\
完成环境的配置
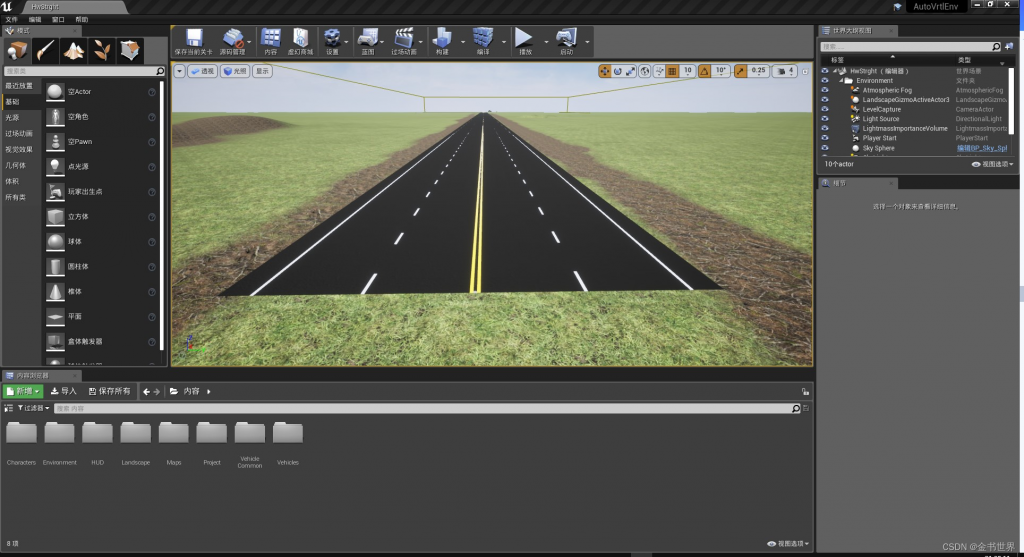
打开虚拟的引擎
openExample('vdynblks/SceneInterrogationReferenceApplicationExample')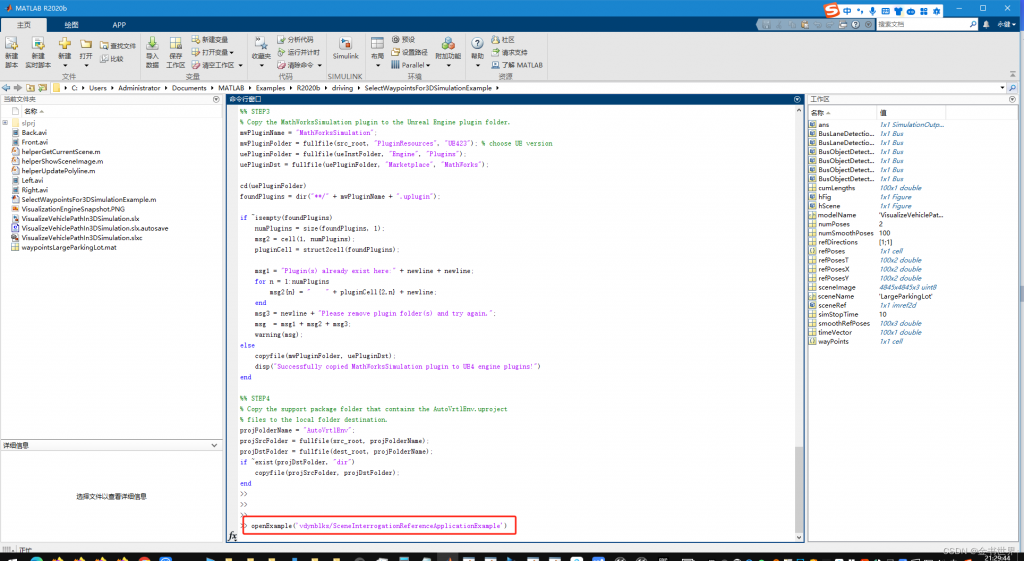
显示的窗体如下(可能会打开的比较慢需要等待一会)
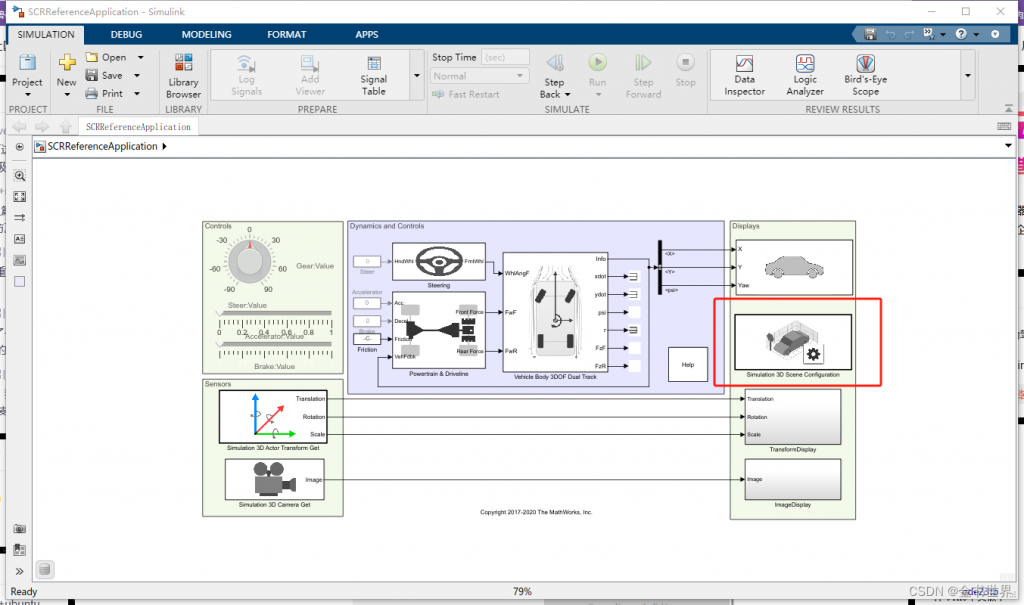
选择Simulation 3D Scene Configuration模块双击进入编辑界面,在scene source中选择Unreal Editor并在下面的project中选择I:\Local
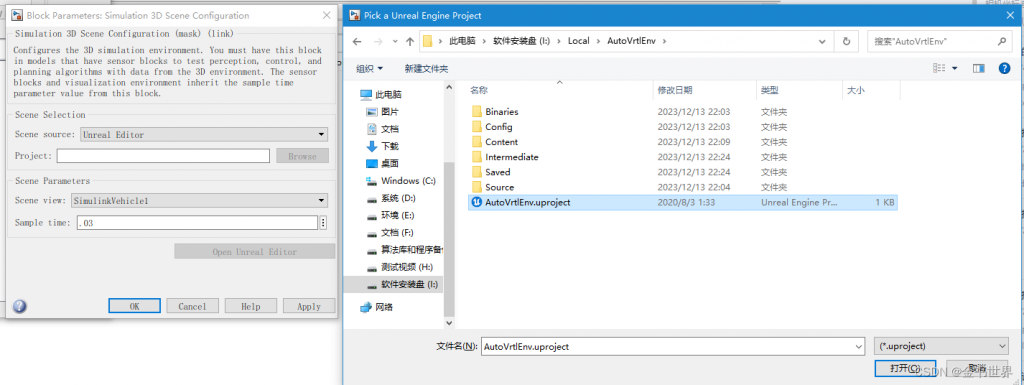
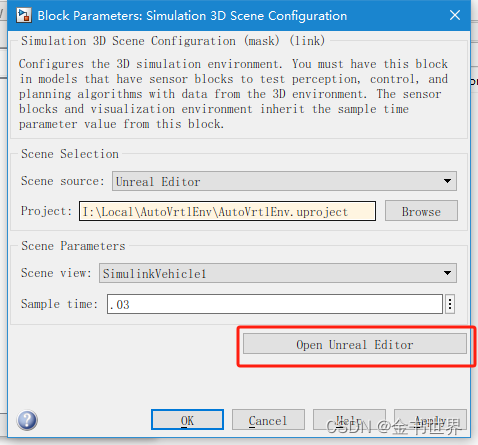
首次载入比较慢,显示如下所示
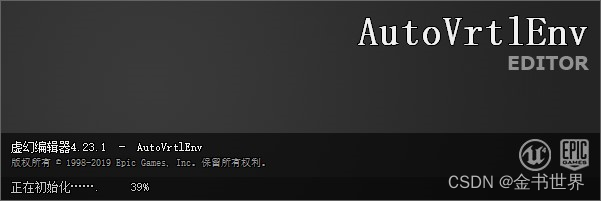
显示如下所示就表示环境搭建成功
四、配置并输出视频
参考:https://ww2.mathworks.cn/help/driving/ug/select-waypoints-for-3d-simulation.html
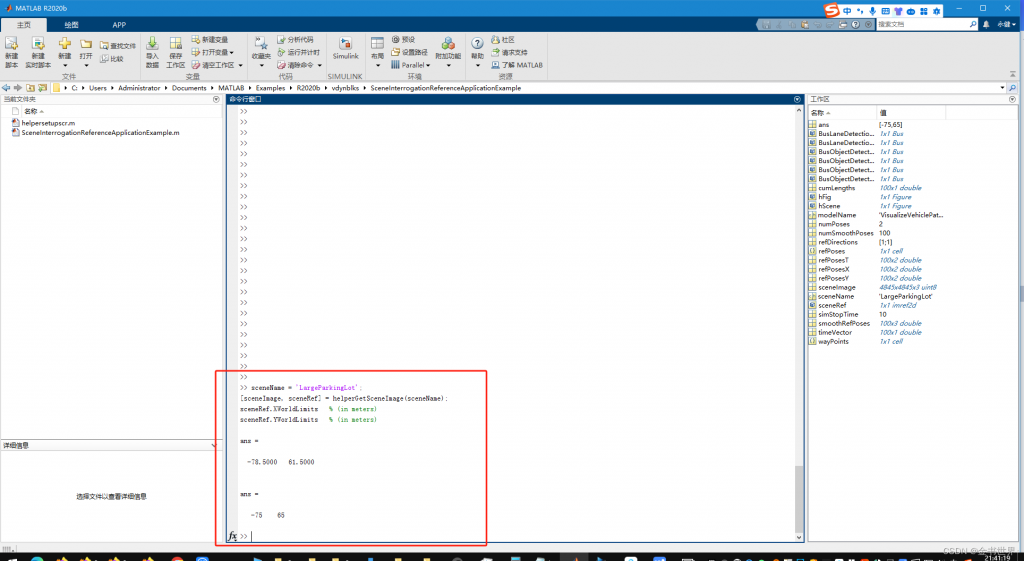
sceneName = 'LargeParkingLot';
[sceneImage, sceneRef] = helperGetSceneImage(sceneName);
sceneRef.XWorldLimits   % (in meters)
sceneRef.YWorldLimits   % (in meters)
显示如下
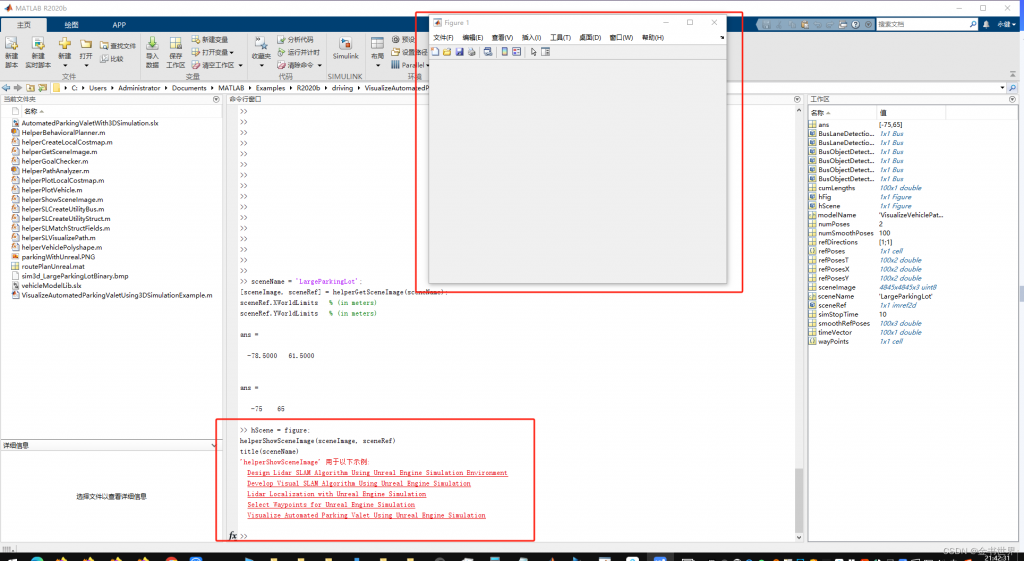
hScene = figure;
helperShowSceneImage(sceneImage, sceneRef)
title(sceneName)
存在报错但是不影响后续测试
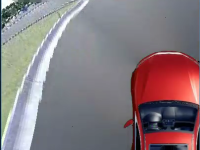
开始描绘路线
hFig = helperSelectSceneWaypoints(sceneImage, sceneRef);

在图像开始描绘路线(如果不描绘直接执行下一步就是使用的默认路线)
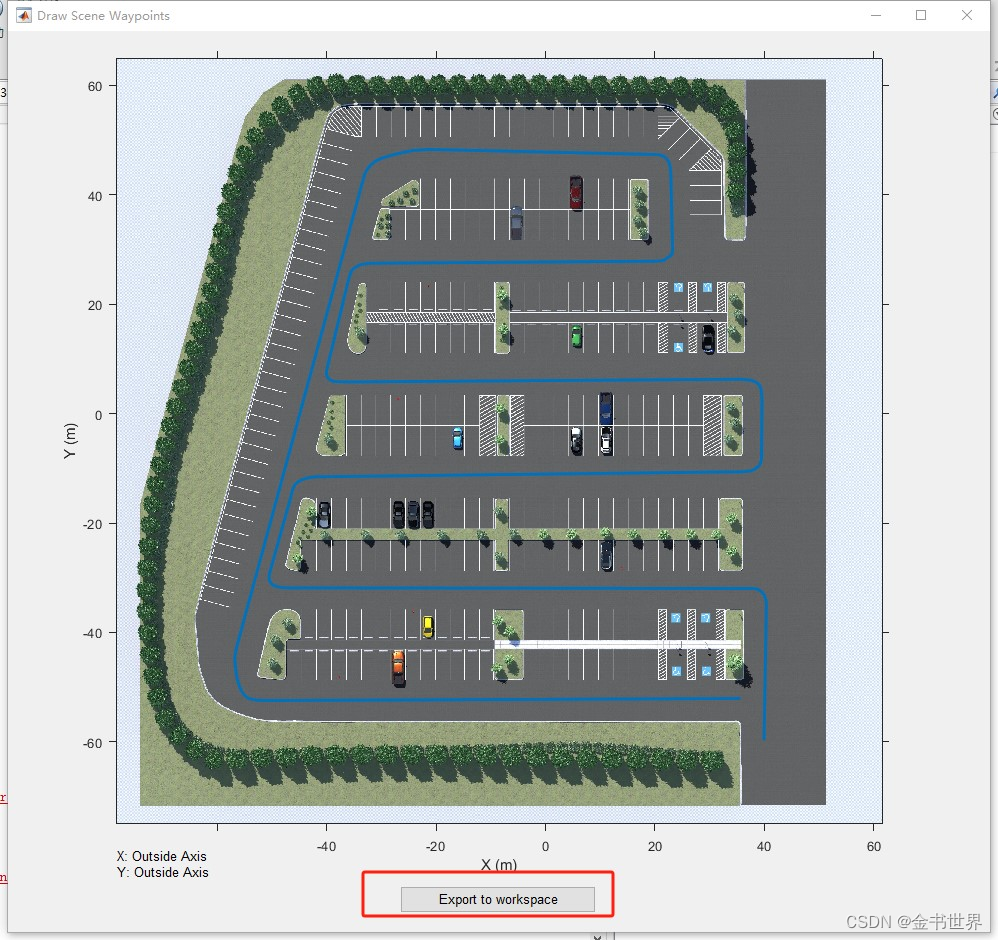
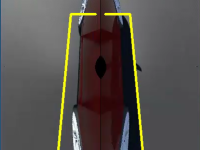
点击按钮后显示如下
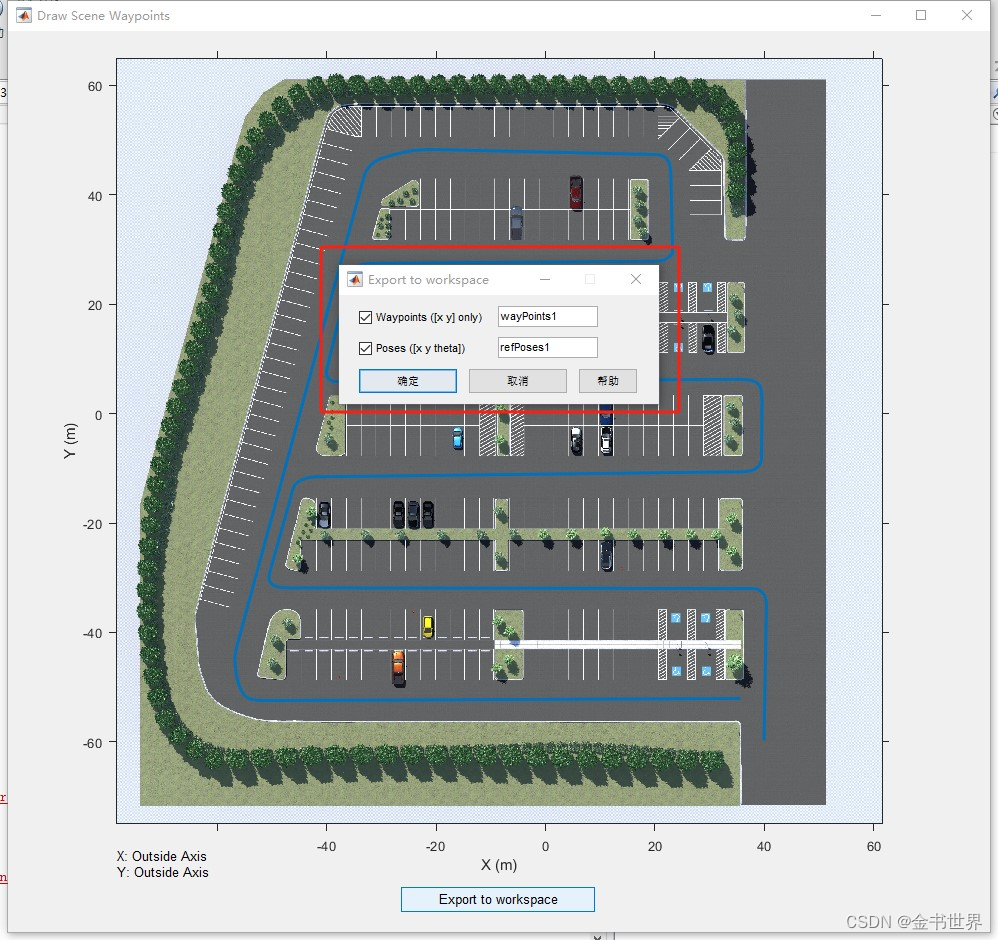
点击去定按钮后显示如下(需要注意上述的wayPoints1和refPoses1,需要后面的代码输入的一致)
% Load variables to workspace if they do not exist
if exist('refPoses', 'var')==0 || exist('wayPoints', 'var')==0
% Load MAT-file containing preselected waypoints
data = load('waypointsLargeParkingLot');
data = data.waypointsLargeParkingLot;
% Assign to caller workspace
assignin('caller', 'wayPoints', {data.waypoints1});%需要修改waypoints1
assignin('caller', 'refPoses', {data.refPoses1});%需要修改refPoses1
end
numPoses = size(refPoses1{1}, 1);%需要修改refPoses1
refDirections = ones(numPoses,1); % Forward-only motion
numSmoothPoses = 50 * numPoses; % Increase this to increase the number of returned poses
[smoothRefPoses,~,cumLengths] = smoothPathSpline(refPoses1{1}, refDirections, numSmoothPoses);%需要修改refPoses1
if ~ispc
error(['3D Simulation is only supported on Microsoft', char(174), ' Windows', char(174), '.']);
end
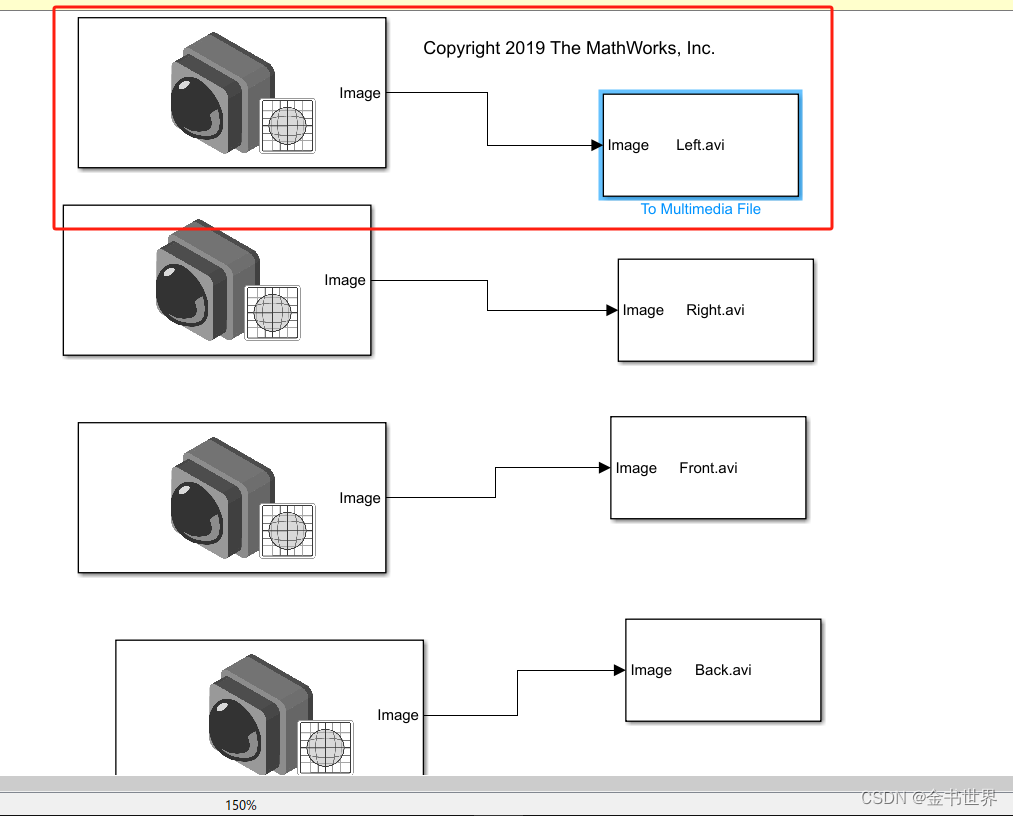
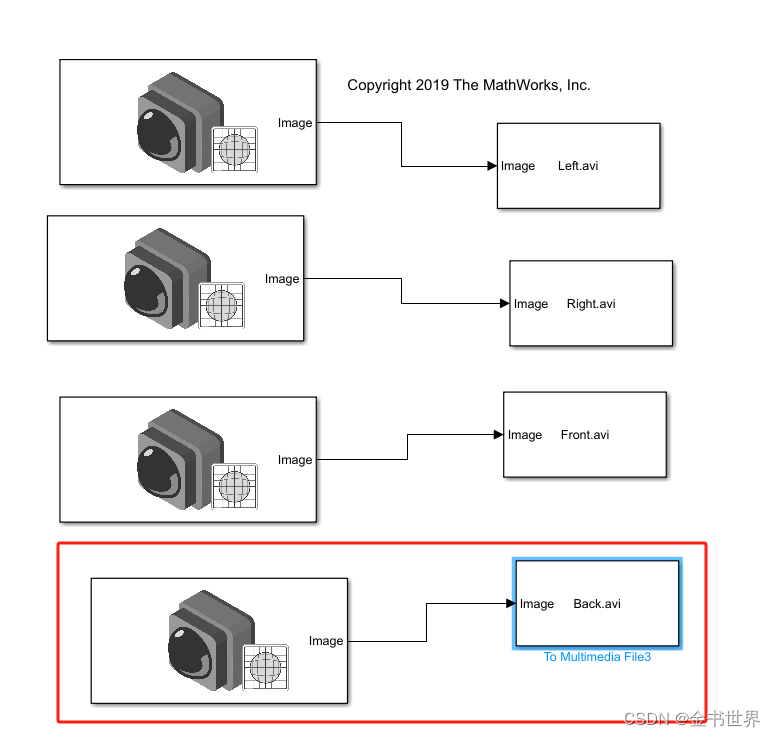
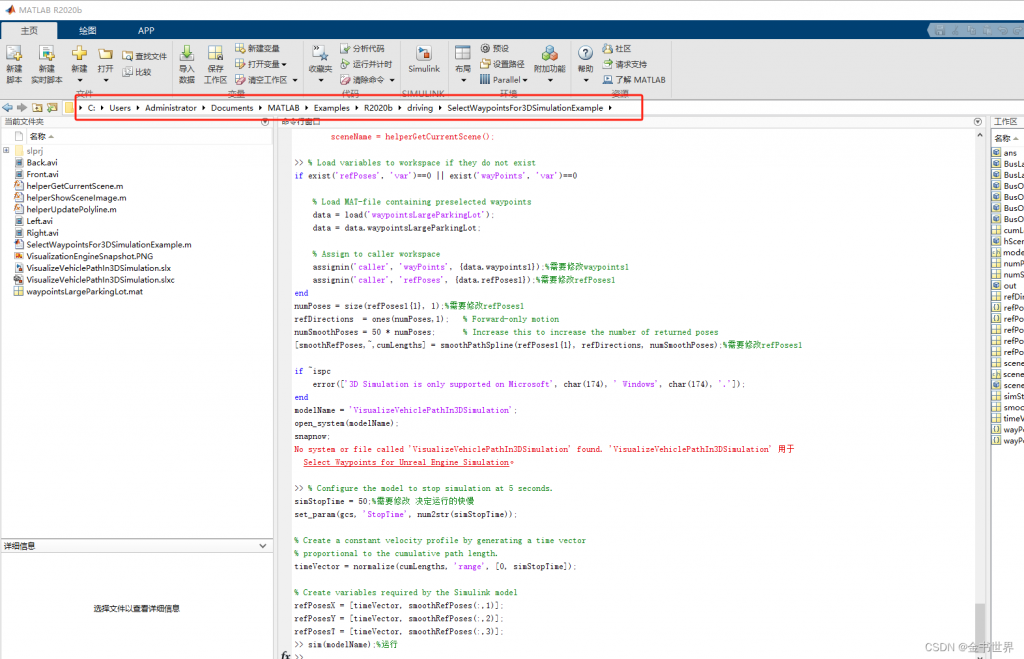
modelName = 'VisualizeVehiclePathIn3DSimulation';
open_system(modelName);
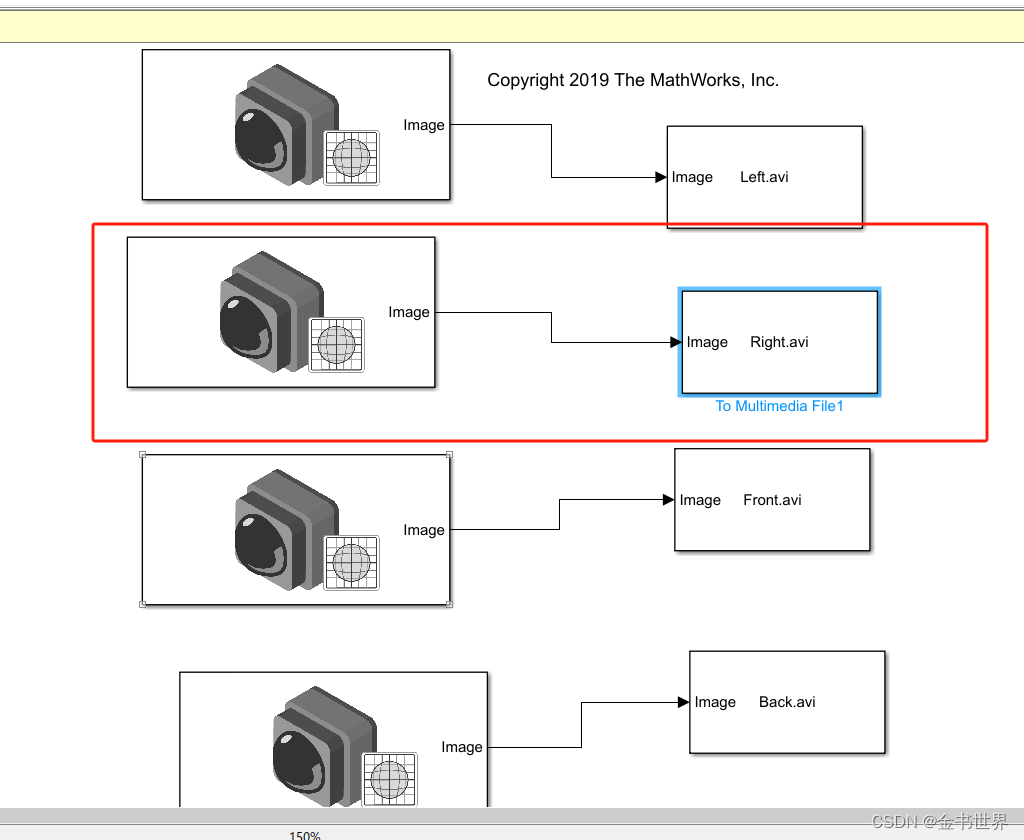
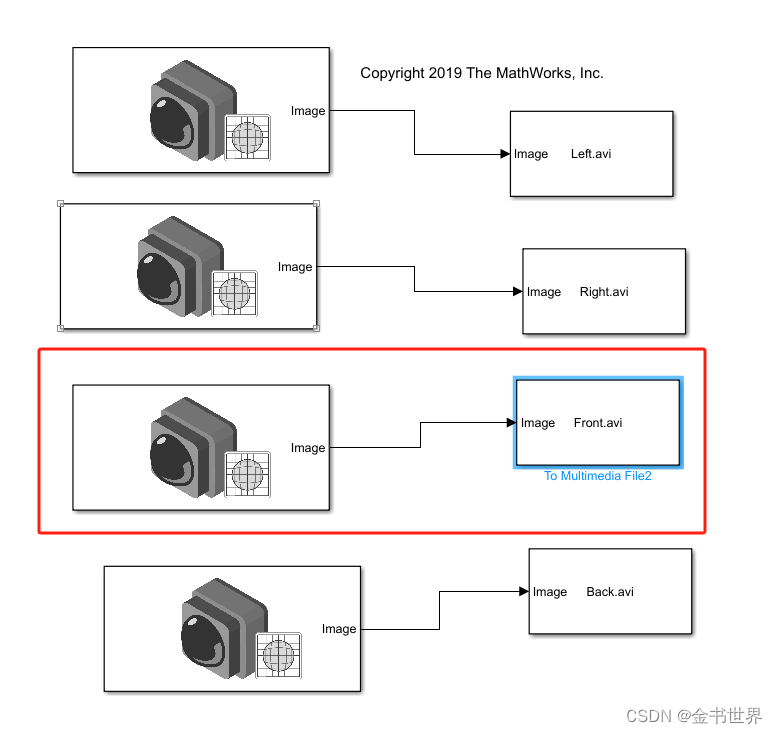
snapnow;显示如下
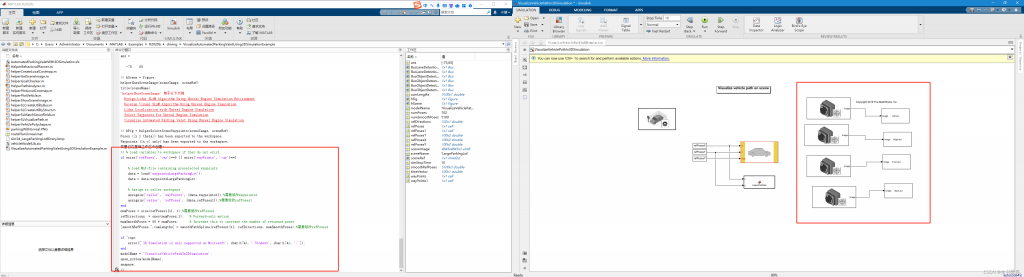
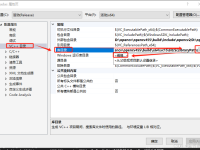
右侧的红框内的是没有的需要我们手动的添加
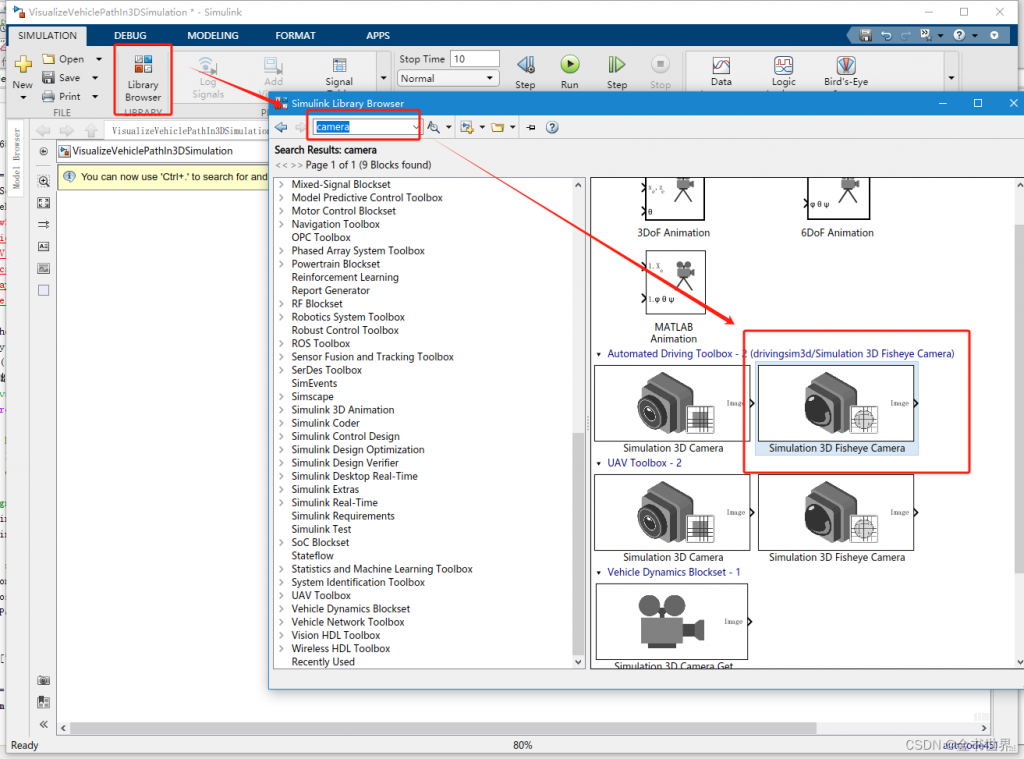
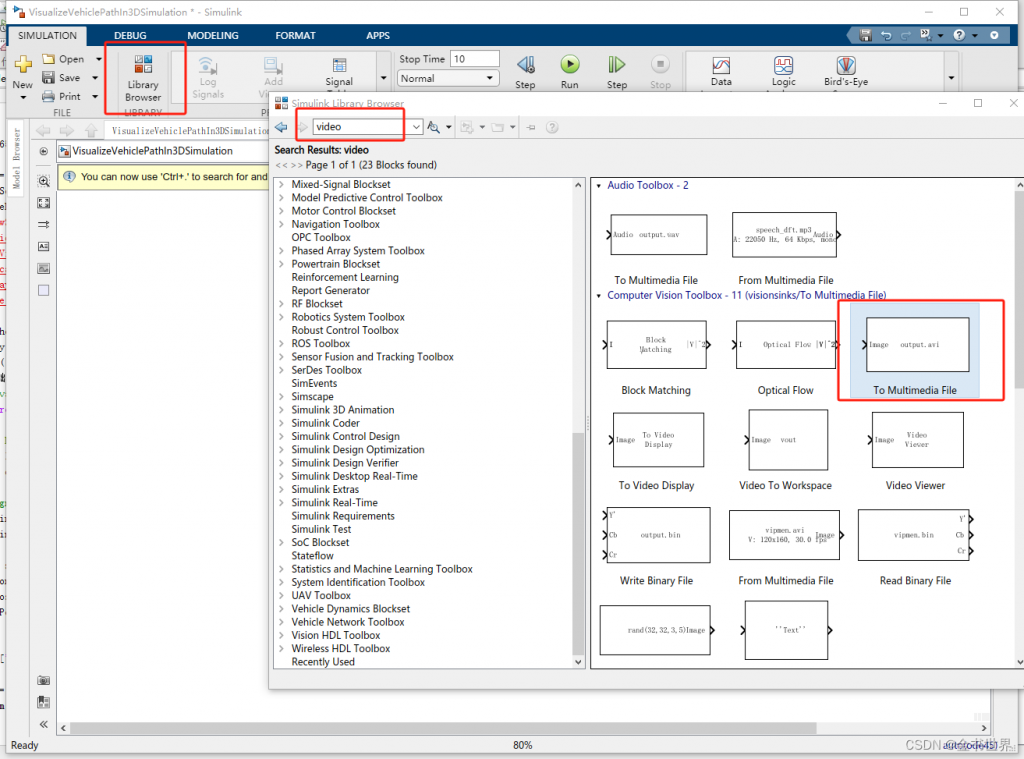
找到上述两个工具后添加到界面就和上述的界面显示相同了
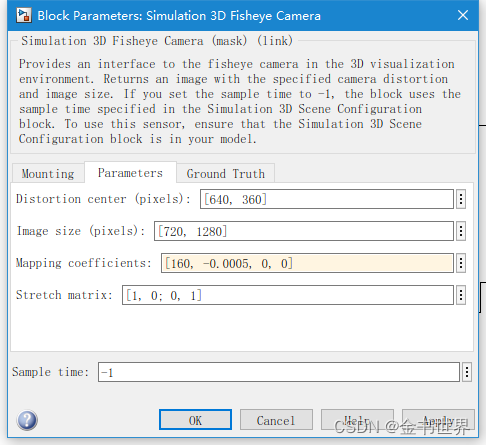
配置左视的摄像头
双击Simulation 3D Fisheye Camera进入到一下界面并设置参数如下

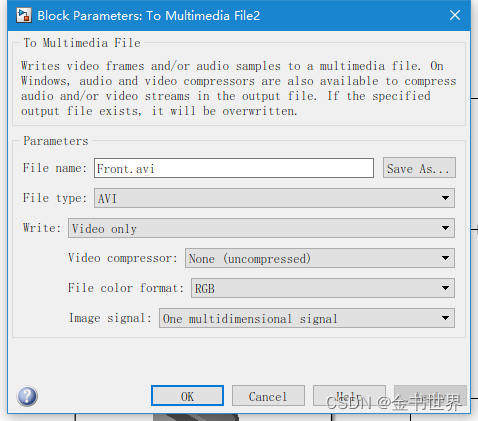
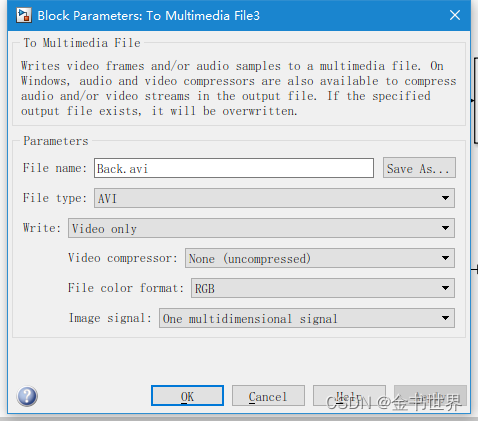
双击To Multimedia File进入到一下界面并设置参数如下
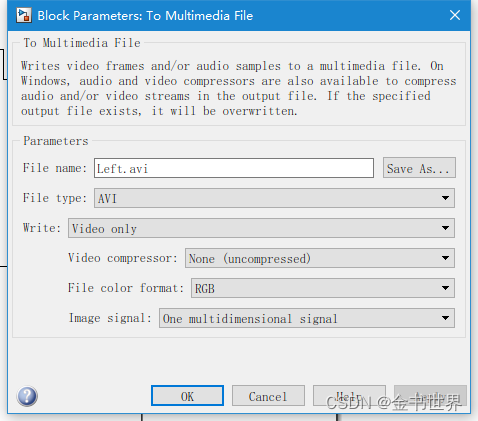
左视的配置完成
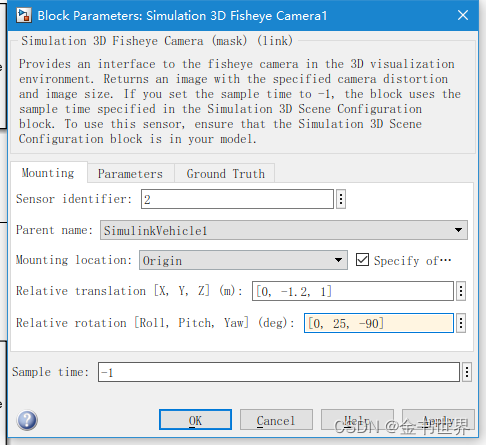
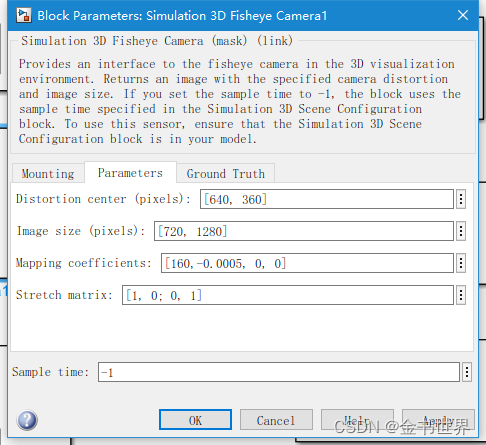
同理设置右视
双击Simulation 3D Fisheye Camera进入到一下界面并设置参数如下
双击To Multimedia File进入到一下界面并设置参数如下
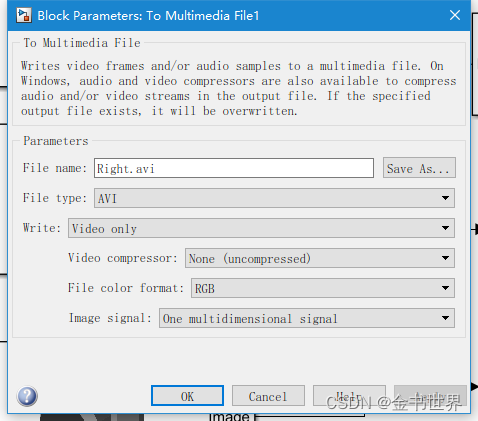
右视的配置完成
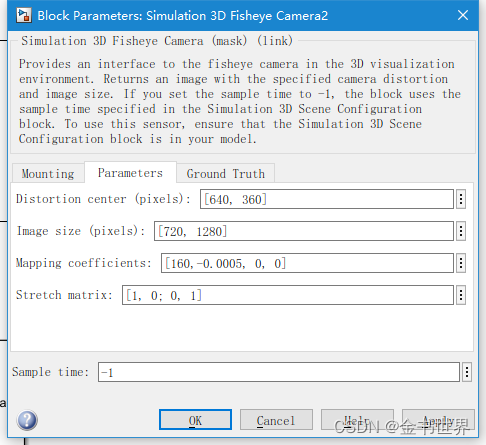
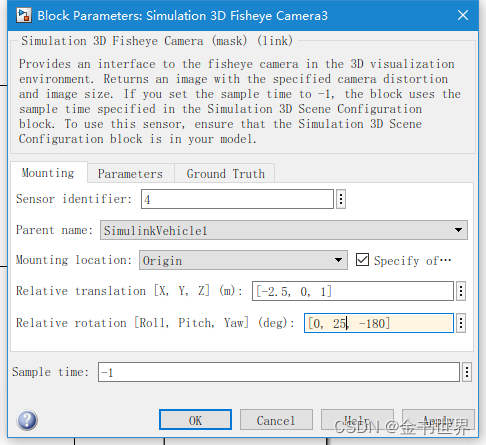
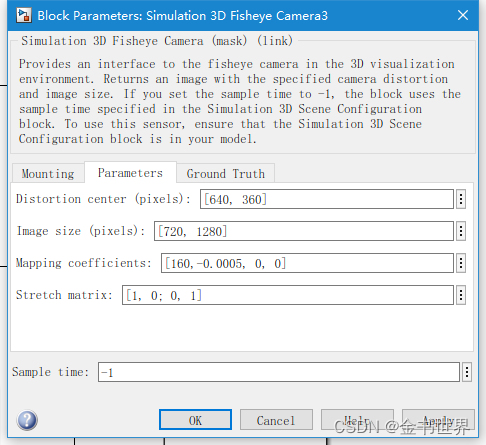
同理设置前视
双击Simulation 3D Fisheye Camera进入到一下界面并设置参数如下

双击To Multimedia File进入到一下界面并设置参数如下
前视的配置完成
同理设置后视
双击Simulation 3D Fisheye Camera进入到一下界面并设置参数如下
双击To Multimedia File进入到一下界面并设置参数如下
后视的配置完成
输入一下代码
% Configure the model to stop simulation at 5 seconds.
simStopTime = 50;%需要修改 决定运行的快慢
set_param(gcs, 'StopTime', num2str(simStopTime));

% Create a constant velocity profile by generating a time vector
% proportional to the cumulative path length.
timeVector = normalize(cumLengths, 'range', [0, simStopTime]);

% Create variables required by the Simulink model
refPosesX = [timeVector, smoothRefPoses(:,1)];
refPosesY = [timeVector, smoothRefPoses(:,2)];
refPosesT = [timeVector, smoothRefPoses(:,3)];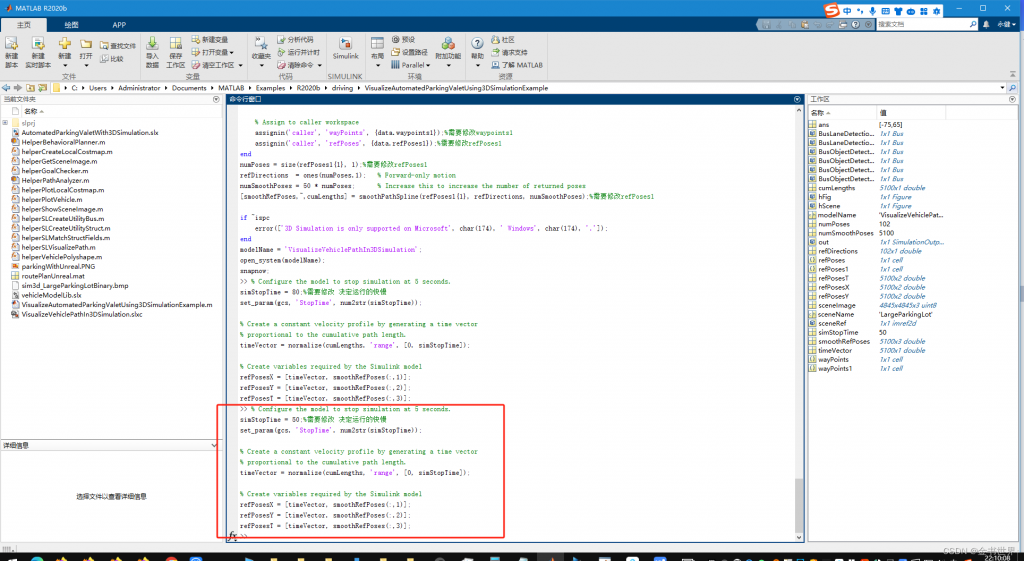
配置完成后开始运行
sim(modelName);%运行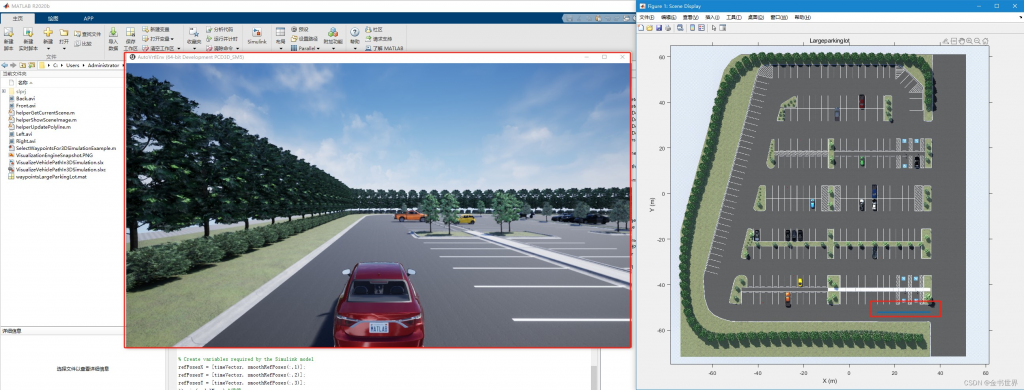
显卡在燃烧
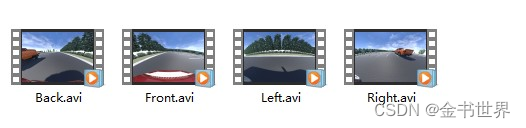
输出的结果视频保存路径
输出的测试视频
如果没有显卡或者想直接获取当前的视频直接使用请使用百度网盘下载
链接:https://pan.baidu.com/s/1Pqn6_t_eUPIBhLdjXq8Xxg?pwd=sqim 提取码:sqim